
Waist trainers or tummy trainers assist in defining your form, making you appear more svelte and curvier. Professional brands may be found at clothes and large box retailers, but the prices start at $30 or even more.
Many waist trainers employ squeezing to establish form. However, it is frequently painful. When you make your waist trainer out of leather, brocade, or ornamental material, you may use it beneath or above your clothes like a fancy belt. The stiffer the cloth or leather, the greater effectiveness your waistline trainer will slim you.
Table of Content
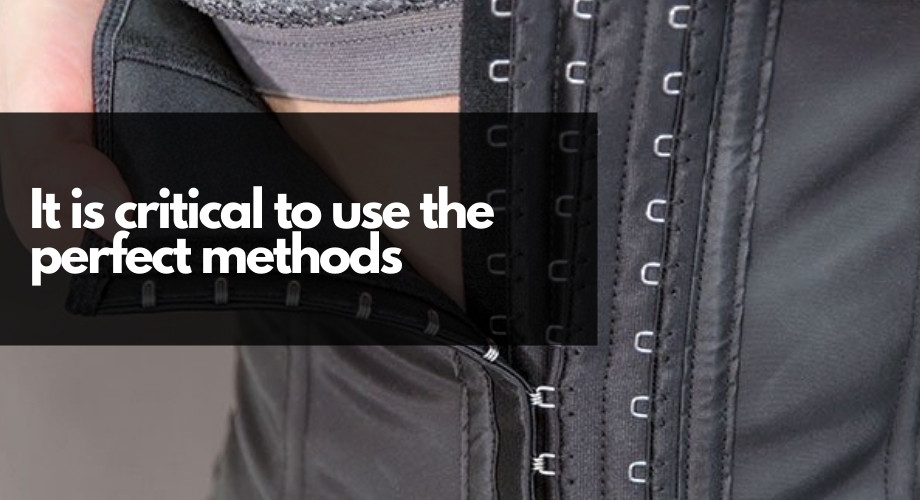
It is critical to use the perfect methods.
It’s critical to grasp the proper approach before we get into the DIY waist trainer recipe. You’ll get the desired result if you follow all of the instructions.
One of the easiest methods is to combine the components in boiling water and allow them to cool. Wrap your midsection with cling film after rubbing the mixture in. This process creates warmth, enhancing the trainer’s slimming/reducing impact.
The very next step is to wrap bandages around your abdomen carefully. They will keep the wrap in position and allow the lymphatic liquid to be “squished” out of the empty spaces between cells.
There is an alternate strategy. In the second example, the bandages will be immersed in the therapeutic chemicals. This is how beauty salon trainers are often achieved- wrapping the bandages all around the torso and covering them with cellophane on top.
A heat blanket can be used to enhance the effect even more.
A DIY waistline trainer should be worn for at least 30 min. Some individuals wrap their abdomen overnight, which results in even more noticeable effects the following morning.
The Method
You’ll need to follow this formula, or you may even tweak it slightly
The key elements are as follows:
- 1 cup water
- Epsom salt or sea salt (it has exfoliating qualities)
- One and a half cups of kelp powder
- Drops of an essential oil
- A few teaspoons of olive oil, coconut oil, avocado oil, or jojoba oil.
- Coffee or green tea (a stimulant that pulls out liquids from the body and lowers the prominence of cellulite)
- Two cups of white clay or bentonite clay
In a stainless steel pan, bring the water to a gentle boil. Combine the dough and the water in a mixing bowl. It would help if you ended up with a thick, homogeneous mixture. Remove the pan from the heat when all of the clay has become semi-liquid. Combine the kelp flour, coffee, or tea, and the leftover marinade in a mixing bowl. Allow the liquid to cool before soaking bandages in it or applying it directly to your body wrap.
Please remember that you should either be in the restroom or step on a plastic bag when spreading. DIY waist trainers can sometimes be a bit of a shambles. When you’re through wrapping, you can take a seat or head outside to enjoy the sun in the backyard. Allow all of the wonderful elements to cleanse as you relax for weight loss.
Leather Waist trainer with No Sewing Closure
Take your waist measurement. Mark a strip of leather 5 inches smaller than your waist measurement and 6 inches broad with tailor’s chalk. Remove the leather part.
Make six slits in the leather edges, 1/2 inch from the side edges, with a leather or fabric punch. Start your punches 1/4 inch below the top border and 3/4 inch away.
Insert a grommet into the hole in the leather from the front edge and compress it with the grommet’s tool on the cloth punch. Similarly, compress the grommets by laying them on a solid floor and covering the serrated side with timber or iron.
Hammer the wood or metal to fold the nails right over the cloth. Repeat the procedure for each incision.
Lace 24 inches of leather cording through all the waist trainer’s holes, starting with the top holes on either end of the trainer. Connect the lacing and draw tight between every pair of holes, bringing the sides of the Velcro closure more together and making your way down to the bottom gaps. Knot the cords together in a double knot at the bottom edge.
Waist trainer with Elastic Latex
Take your waist measurement. Cut a 6-inch wide piece of thick elastic latex 3 inches smaller than your waist measurement.
Begin 2 inches through one side of the cloth, one 2 cm from the top and one inch from the base, and end with a three-inch-wide tab. Cut a 2-inch length of buckle tape and pin the hook side 1/4 inch within the tab end’s wrong side. Attach the tape on the tab with a sewing machine.
Using a sewing machine or serger, sew an overlock stitch around all four edges of your best waist trainer.
Wrap the waist trainer around your waist and extend the tab side over the opposite side of the Velcro closure. Mark the end of the tab where it crosses the opposite side using a tailor’s pencil.
FAQs
For how many hours can you wear a latex waist trainer?
According to the experts, you can wear a latex waist trainer for eight to ten hours daily. However, when you start to wear waist trainers, begin wearing them for one or two hours. Later you can extend the duration to eight to ten hours a day. Ensure you do not wear it for more than ten hours daily.
Is latex suitable for waist trainers?
Most high-quality waist trainers have stretchy but firm material infused in them. Manufacturers use latex in waist trainers because it is unbeatable, provides compression, and is highly durable.
What are the risk factors attached to waist trainers?
Wearing waist trainers for extended hours can have severe consequences. Following are some risks attached to wearing waist trainers for extended hours.
- Difficulty while breathing
- Weakened core muscles
- Gastrointestinal (GI) symptoms
- Weakened pelvic floor
- Rashes and infections
- Organ damage
Why does the waist trainer roll up?
Many people complain about waist trainers rolling up. The main reason behind this is poor sizing. When you choose the wrong size, the waist trainer does not stay in place and does not fit properly. If you are wearing a bigger size, it will shift. However, choosing a smaller size can cause discomfort and may even roll-up. Therefore, it is crucial to pick the correct size of waist trainers to fit properly.
Can you sleep with a latex waist trainer?
The(ABCS) American Board of Cosmetic Surgery does not recommend that one should wear waist trainers for extended hours. Moreover, wearing waist trainers while sleeping can cause discomfort, affect acid reflux, and lead to improper digestion.
Conclusion
Creating a DIY waist trainer without plastic wrap is a safer and more sustainable option for those looking to achieve a slimmer waistline. Using materials such as cotton, spandex, or neoprene, along with adjustable closures, can provide the necessary compression and support without the potential health risks associated with plastic wrap.